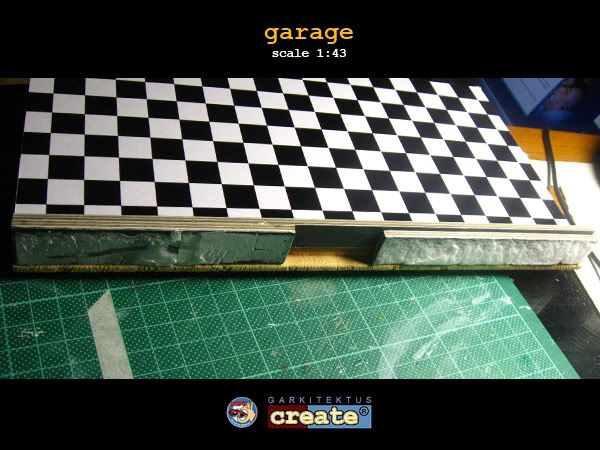
1. wood tile measuring 25 cm x 14 cm or 10 in x 5.5 in.
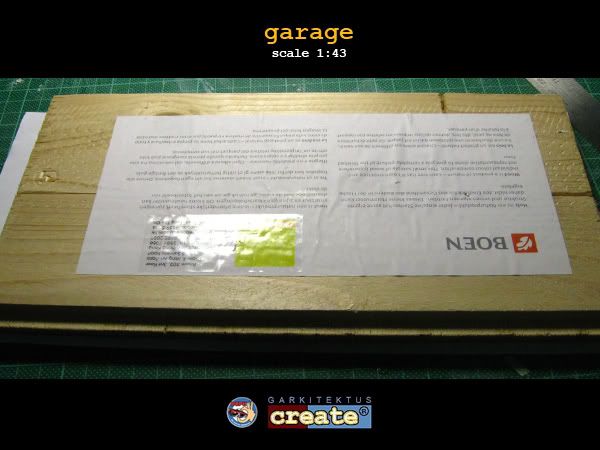
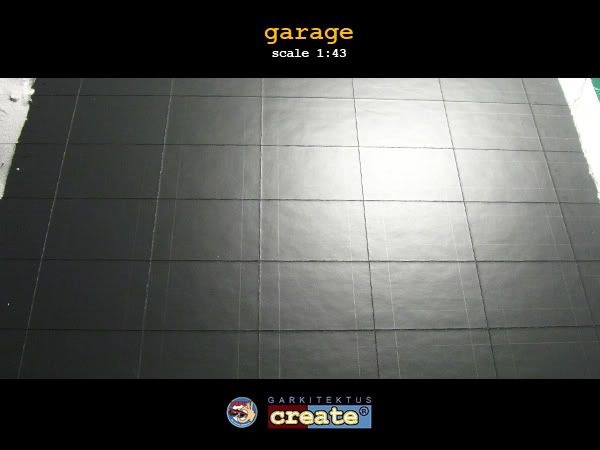
2. a paint finish sample. a dark grey matte sprayed
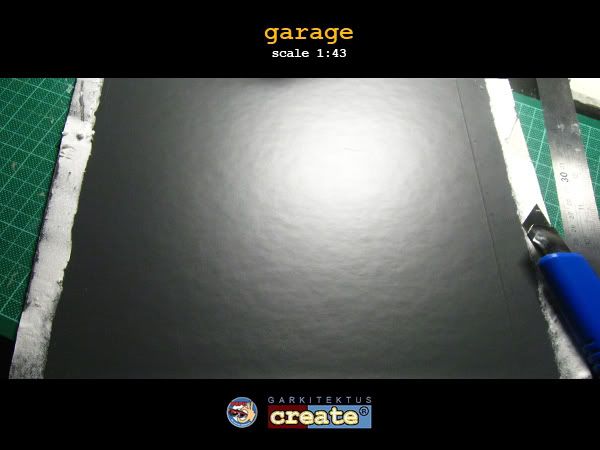
on a 1/8 plywood.
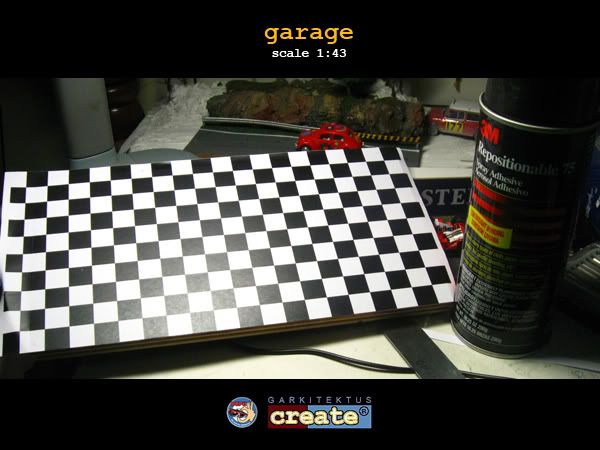
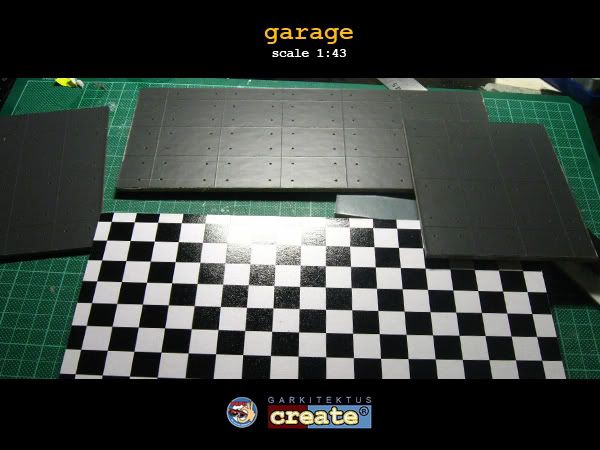
3. a simple black and white checkered
pattern printed on A3 paper.

get one of those 3M spray adhesive(adjustable) and apply on the
B&W checkered paper and carefully lay on the wood tile.
make sure the surface is flat, dry and clean before doing so.
i have some sticker paper with me bought in NBS last xmas
coz i cannot find any over here but i forgot to bring my inkjet printer
and the office's machine is a laser one. i cannot risk printing an
unknown paper with it.
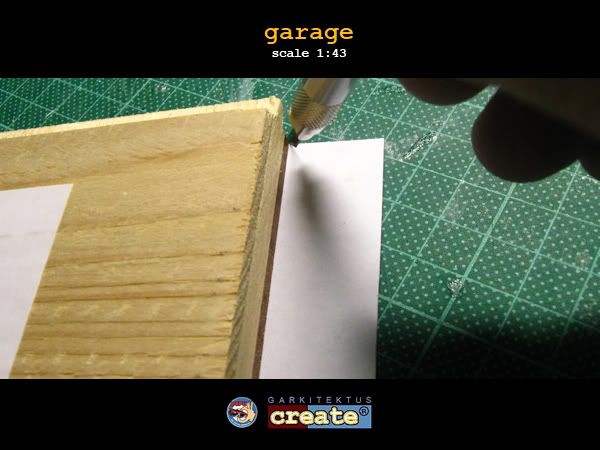
after 10 minutes or so, cut off the overlapping paper off the wood tile
and spray with PYLOX Clear Lacquer. place it under a lamp while working
on the wall panelling.
measure 4.5 cm x 3 cm (1:43) that would be approx 1.95 M x 13.5 M in 1:1
over the matte finish plywood and get a huge knife and cut superficially
just getting through the thickness of the paint.

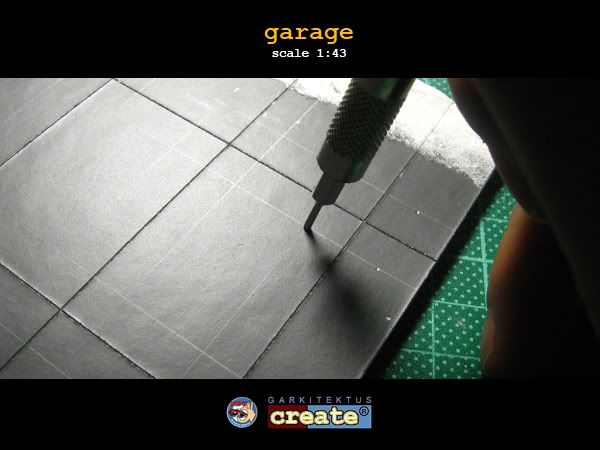
draw some guidelines for the "metal rod" support "holes". these are
commonly left behind after the poured-in concrete dries.
these are found in Arch. Tadao Ando's architecture.
although this partucular wall may be dark grey aluminum panels
with huge perforation at each corners

choose the small round edge bit from your precision tools set and "drill" the holes
on the plywood.
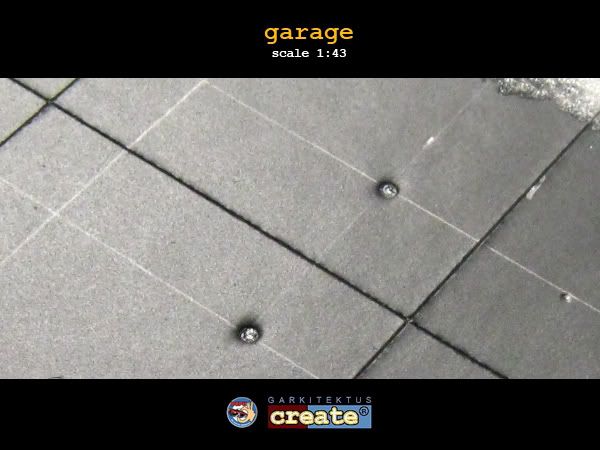
you will have something like this
glue some discarded pieces of the matte finished plywood at the rear of the base for
added support wehn installing the backing.
apply super glue and stick on the back wall applying enough pressure for the glue to settle.
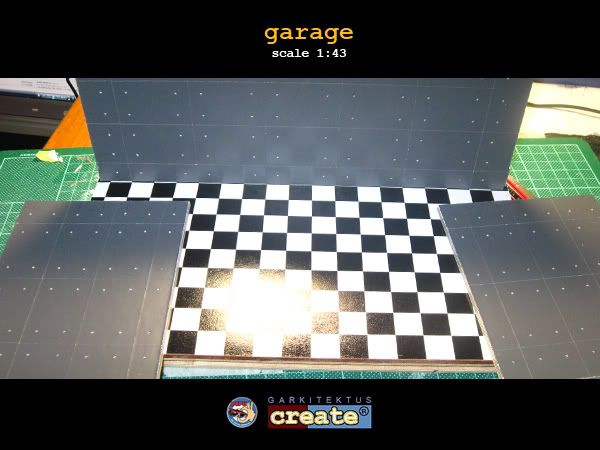
after a minute or so, glue the left and right side panels on the base and on the back wall
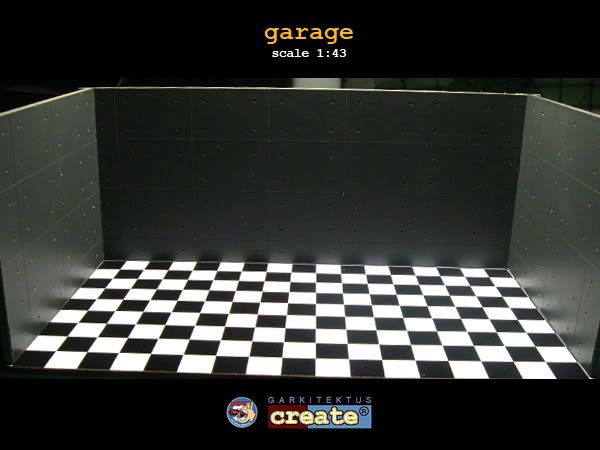
and hopefully you'll end up with something like this
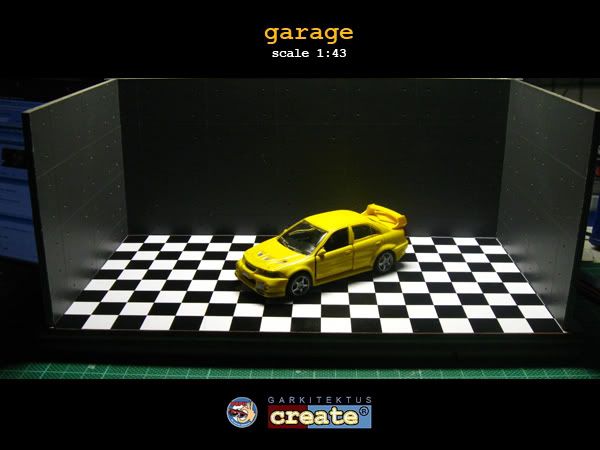
i bought these Snap-On garage sets from simon almost 2 years back
and brought them here with me early this year
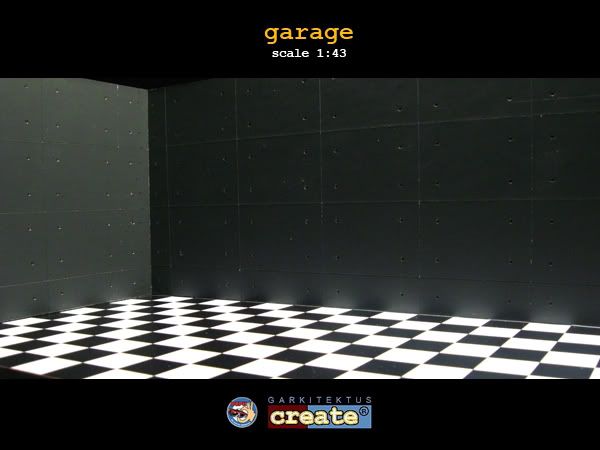
here's the finished base and wall panels.

i have worked with 1:64 garage equipments before
using vinyl. it is a versatile material because it is a bit
malleable. i cannot find it here. not just yet anyway.
POLYSTYRENE is a stiff foam material and it comes in
different sections(circular, square, rectangle, triangle...)
it is pricey compared to wood though.
and so for today's exercise, i have decided to do a car lifter
because i don't have the 1:43 scaled one from a box set.
since i do not have POLYSTYRENE with me and i still have
some spare wood stuff from the ROUTE 66 project, i opted
for the wood material instead.
i will still do a POLYSTYRENE one of course. let's just say
this is a prototype.
using an 8mm x 8mm wood section(which is roughly 34 cm in 1:1)
cut 4 pcs at 6 cm each ( should be only 5 cm but allow 1 cm
for cutting and filing later)(ref img 40-1)
using a flat section metal file, smoothen the edges at an angle.
do this to all pieces.(ref img 40-2)
use a 5mm x 2mm hard wood section and cut 2 5.5 cm lengths.
using a small X-Acto knife, cut away a small section of the strip
to provide space for the two platforms which will be installed
later. ( ref img 40-3)
using the same metal file, scrape off about 2 mm in to create
a tenon ( ref img 40-4)

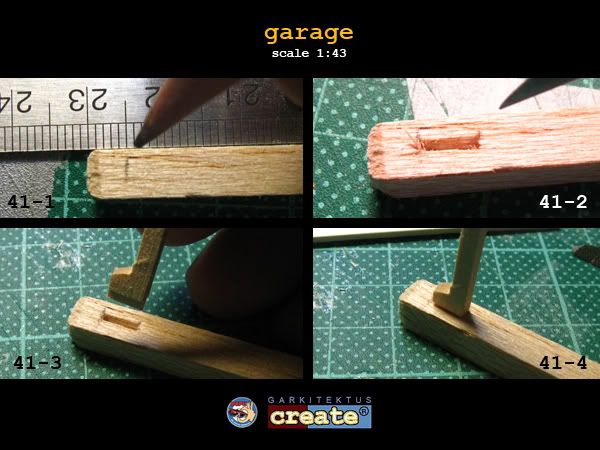
go back to the square sections you did earlier and measure half a centimeter from the
bevelled edges. ( ref img 41-1)
use the X-Acto knife again, create a mortise 2 mm deep. (ref img 41-2)
try the pieces together and see if they fit.
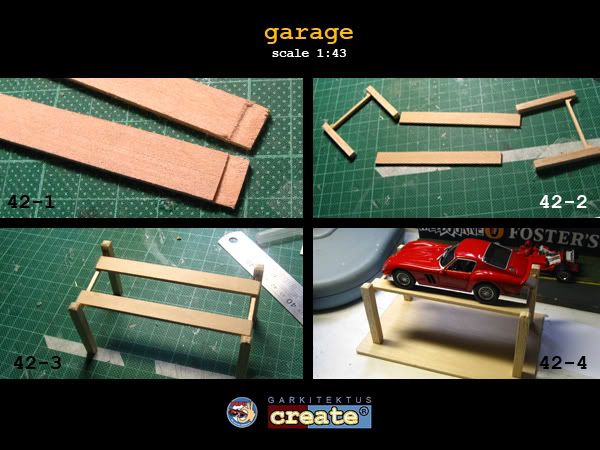
use 10mm x 3 mm wood strips and use a metal file to scrape off a right angle groove. ( ref img 42-1)
get all the pieces together and assemble using super glue.( ref img 42-2&3)
checking fro strength...( ref img 42-4) if what you did is weak, the diecast will fall
and will suffer considerable damage....
 use alternative same weight object for tests
check out the four-poster if it fits proportionally and that a human figure may
walk underneath.
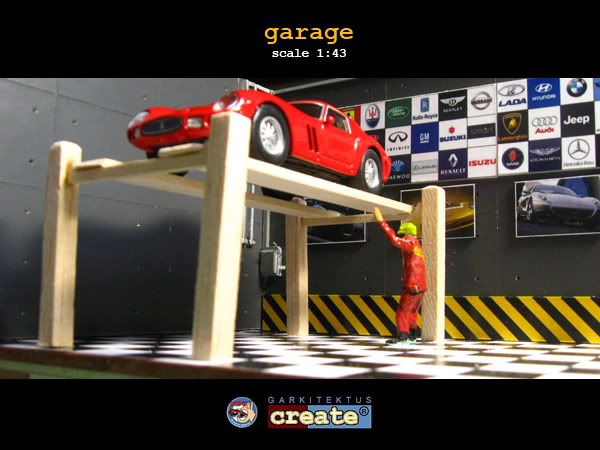
paint the structure with Tamiya X-series paints of your liking
or any enamel colors
for that thing located on one of the posts of the car lifter,
use plain illustration board.(please use the high quality all white one for small
objects because the black-backed one isn't that sturdy)
cut several pieces beginning from the base plate at 8 mm and reducing to 6 mm
for the front panel.( ref img 44-1)
for the transitional part use the round end of a guitar string.( ref img 44-2)
there is a cylinder below the mechanical box and use
the tip of a click-pen.( ref img 44-3)
glue the pieces together( ref img 44-4)
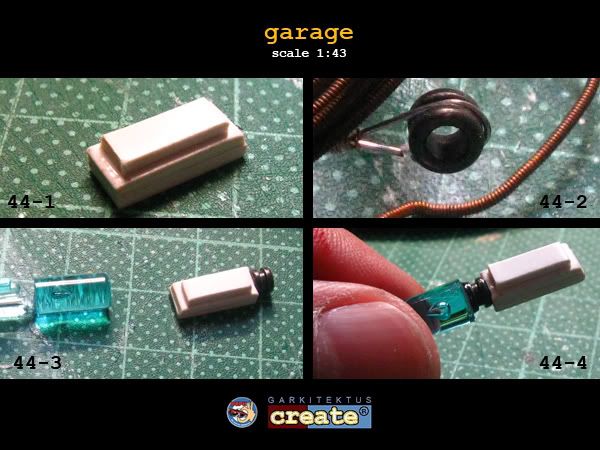
and paint the object black.
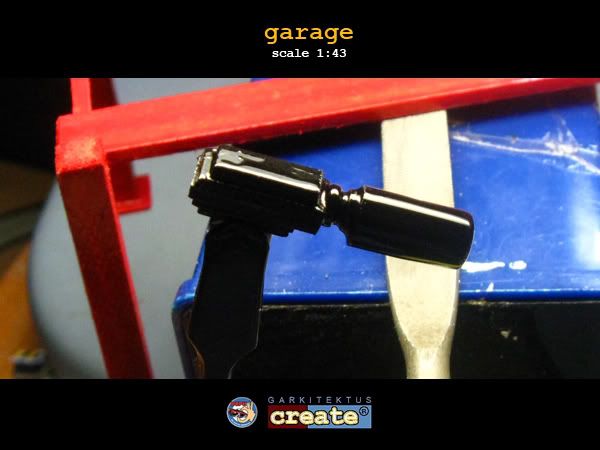
use a piece of string ( any color you want) or any colored wire for the
tube(or electrical wire). just stick it anywhere on the object but make sure
it will look at least sensible though i don't really know how it works
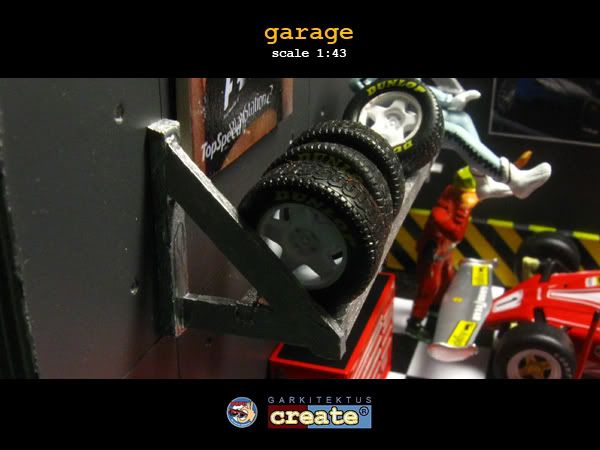
for the wall mounted tire rack
use 5mm x 2mm wood and cut 2 9 cm strips, 2 1.5 cm strips, 2 2 cm braces and 2 1.8 cm wall brackets.( ref img 46-1)
use an X-Acto knife and do lap joints on the first two strips. remember to measure at least a cm
cap between the longer strips. this is where the tires will be placed. ( ref img 46-2)
glue the pieces together ( ref img 46-3)
and try on for size ( ref img 46-4)

paint the tire rack to your desired color.
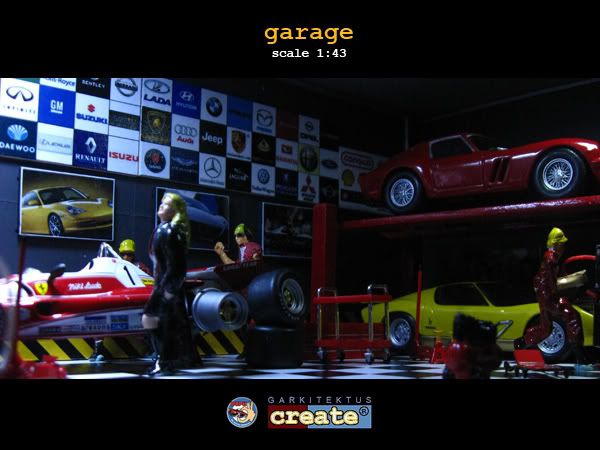
the ANDO walls are now covered mostly of wall mounted pictures
and adding a bit of realism
the modern concept of the garage need not have any exposed
electrical conduits coz nowadays, these components are embedded
in the walls revealed only by the fact that there are switches and sockets
mounted on walls. but for this one, i decided to show the electrical stuff
just for the heck of it(actually) although unnecessary.
a socket/switch or two here and there will suffice.
for these conduits, cut off 2 mm strips of illustration board
or use a 2 mm square section of POLYSTYRENE.
at each end, cut a 3 mm x 4 mm rectangular shaped swith/socket housing.( ref img 39-1)
paint 4 of these with TAMIYA SILVER and let dry. ( ref img 39-2)
cut a 10 mm x 8mm rectangle from an illustration board/POLYSTYRENE
and a successive 8mm x 6 mm one. stick these two together and paint as well. ( ref img 39-3)
add wire from a guitar string and shape into the switch lever and stick onto the PANEL BOX. ( ref img 39-4)

it may look very traditional of course but it's a good exercise in doing these objects.
it will help you prepare for something more intricate in the future
thanks for taking the time
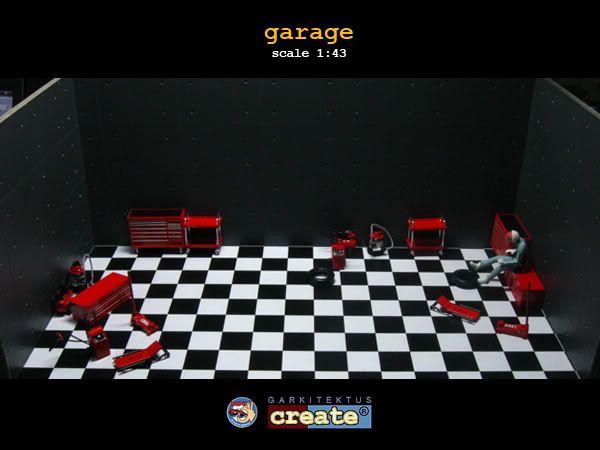
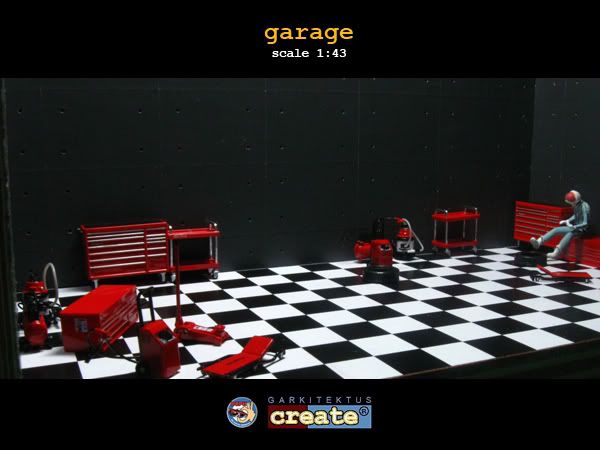
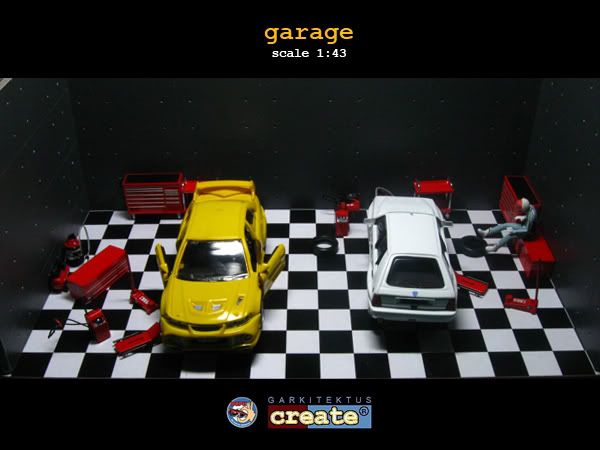
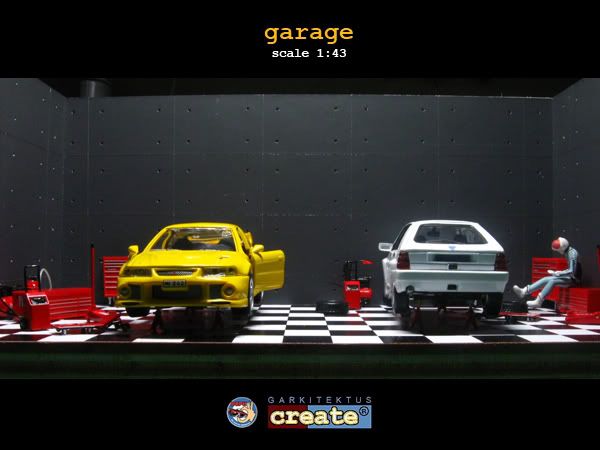
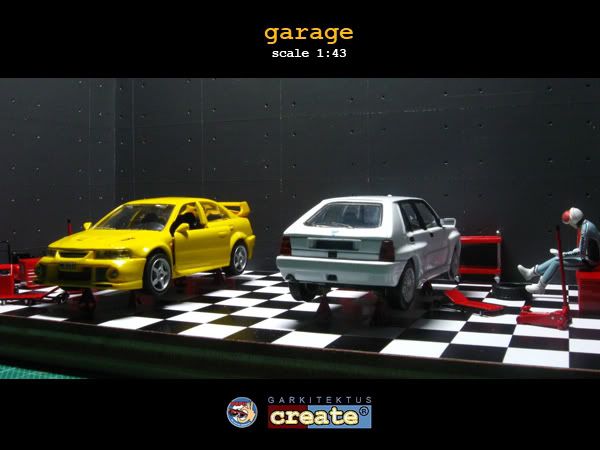
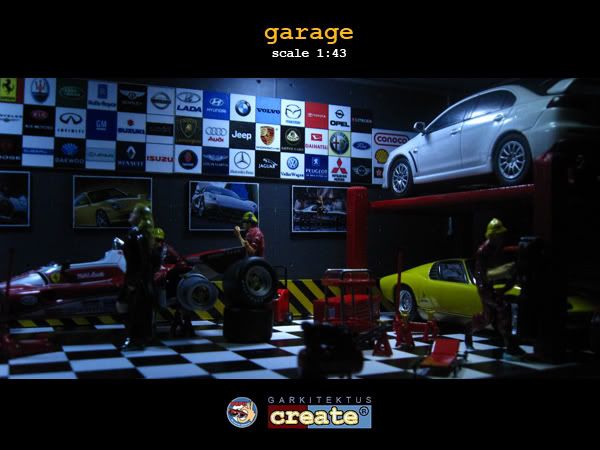
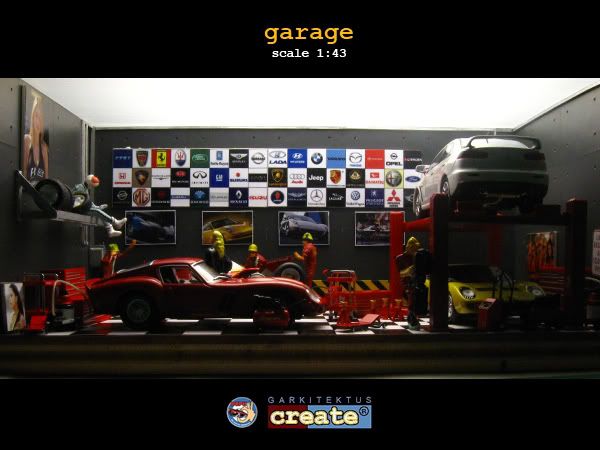
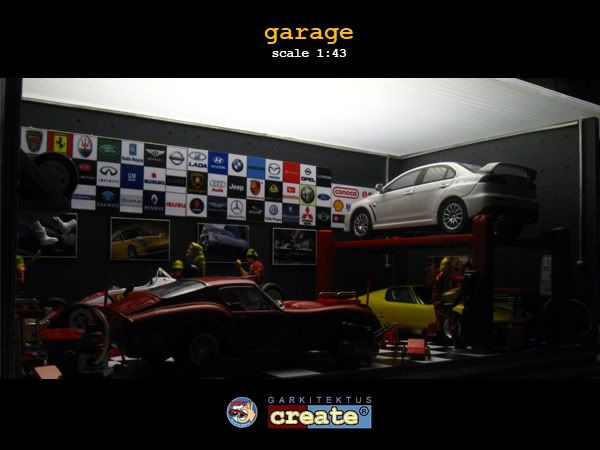
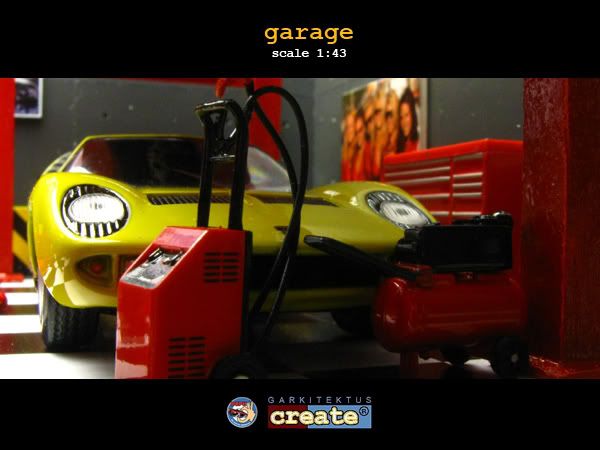
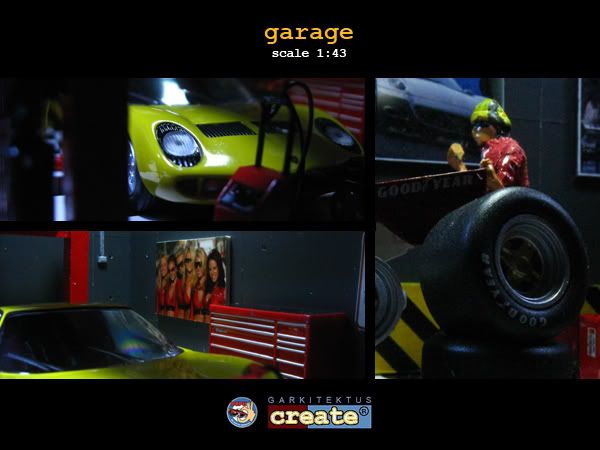
some shots
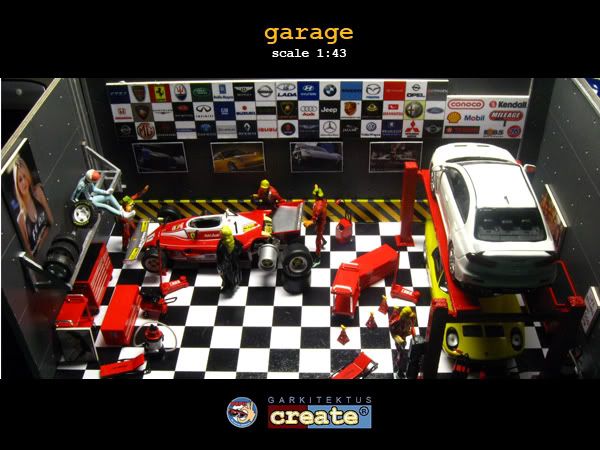


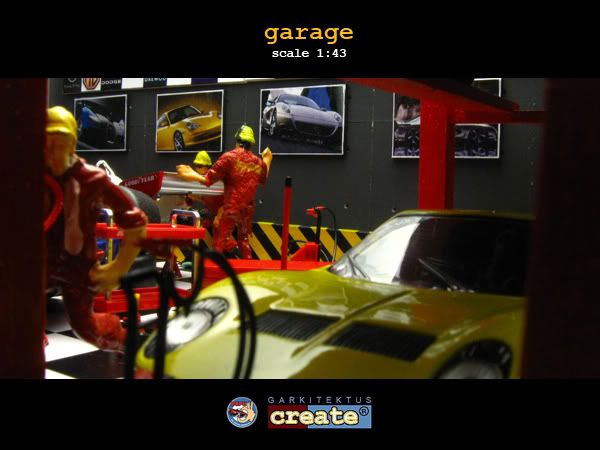

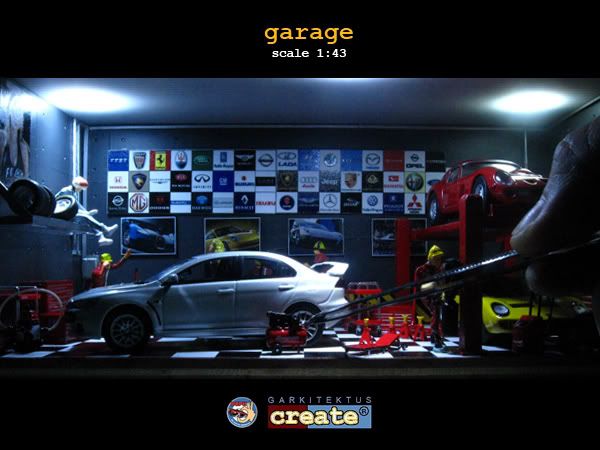
sweet
ReplyDeletethank you :)
DeleteFull reply below.........
DeleteVery nice! Thanks for posting.
ReplyDeleteI am buying a house and adding a 28' x 34' garage with an extra room, and I am going to use a 4-post lift. So my new garage is going to look almost identical to yours!!!
I plan on using foam-board to help me visualize my layout. I am going to model the complete house and garage. I am going to use 1:48 scale (1/4 inch = 1 foot). Why did you use 1:43 scale?
And where did you buy the cars and garage items? I will be looking for all kinds of things (furniture and bath fixtures) in 1:48 scale. Do you know any good places to buy these scale items?
Again, many thanks.
Dave F. in Rhode Island (email: davestuff AT csgbenefits.org)