Materials
1. 30 cm x 24 cm Framed 6mm plywood
2. white illustration board
3. glossy black hard cartolina
4. tomica solar turntable
5. tomy town railway segments and frames
6. elmer's glue
7. tamiya grey lacquer aerosol
8. mr. hobby white surfacer 1000
9. smoked white plastic
10. superglue
Procedure
cut from the illustration board, the inside dimensions of the frame.
mark the diameter of the turntable and cut at offset of at least 5mm
outside the turning plate.
this is to let the board drop to the inclined casing
letting the turntable jut out of the floor as an elevated platform.

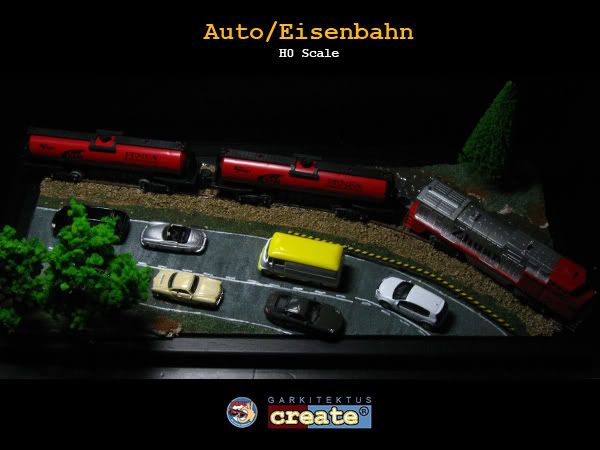
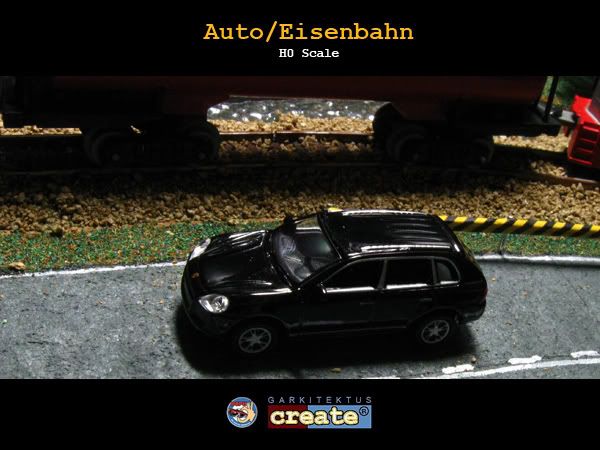
cut out a rectangle from the glossy cartolina
and scour the surface with your desired floor pattern.
there is the traditional square grid tile pattern
but you may always go beyond the norm.

use any graphics software to design your walls.
scour groovelines using a ballpoint pen. make sure that
the lines matches that on the floor pattern.
in this exercise, i did the groovelines on the board
then glued on the printed graphics and rubbed
hard with a flat board hoping that the groovelines will
appear. they did but not as obvious as i wanted
them to be.
so i placed a piece of paper on top and did the groovelines
again and the desired depth was achieved.
spray 2 coats of any acrylic/lacquer clear aerosol
and let dry under a lamp

glue the gloss cartolina on the floor board
and press hard using books or in my case,
the heavy mattress of the double decker in my room,
and leave for 15 minutes.
cut out the hole using an X-Acto knife and with a
permanent black marker, color the rim so the white
board won't be obvious once you settle the board on
the turntable casing lip incline.
by the way, use the white surfacer on the plastic
frames from the train segments. it dries faster
than regular primer although the effect is the same.
spray over the tamiya grey lacquer after and dry
for at least 30 minutes.
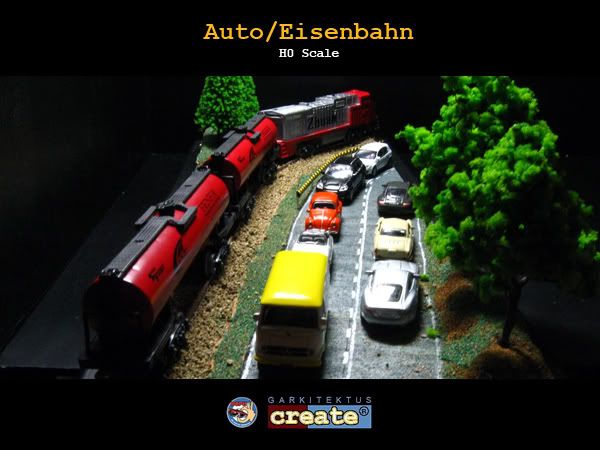
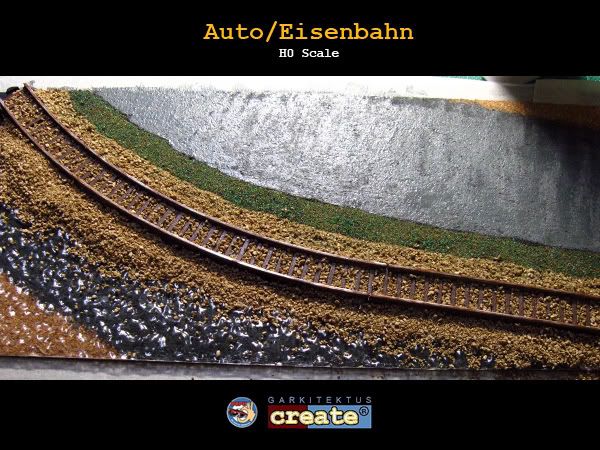
as you notice, on the second post with pictures,
the thickness of the base of the frames is too massive.
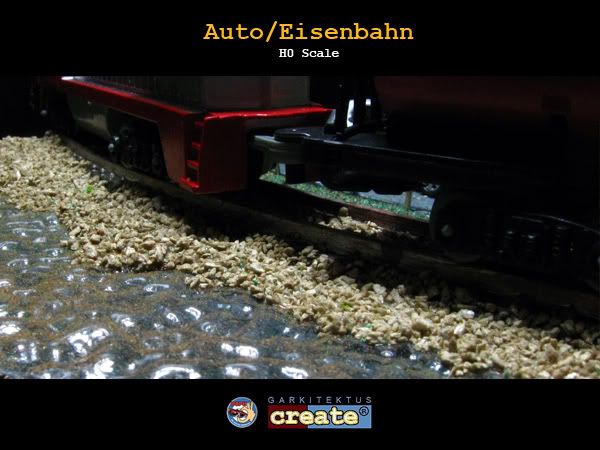
cut holes from the floor board and insert the base
until you reach the first top plate(shown in pic)

notice the rectangular hole at the bottom of the
circular one? that's for light to pass through the board
reaching the solar cells to power up the turntable.
cover the hole with a smoked plastic sheet.

do not fix the diorama on the frame for turntable maintenance.


more pics
http://s419.photobucket.com/albums/pp279/evotones/CREATE%20DIORAMA/BUGATTI%20SHOW/